Six: The Beginner's Favorite GUI
In previous articles, we have introduced how to run CLIProxyAPI step by step through the command line. In fact, CLIProxyAPI also has two supporting projects: EasyCLI and WebUI.
- EasyCLI repository address:
https://github.com/router-for-me/EasyCLI - WebUI repository address:
https://github.com/router-for-me/Cli-Proxy-API-Management-Center
These two projects aim to lower the barrier to entry for ordinary users. EasyCLI is a desktop client, and WebUI is a web management interface. They both work by connecting to CLIProxyAPI.
I have not provided a GUI tutorial before because the old version required users to deploy or install it themselves, which was relatively cumbersome. Starting from version 6.0.19, the author has integrated WebUI into the main program. Therefore, users can now directly configure it through the built-in web interface.
This article will briefly introduce how to enable and access WebUI. The usage of EasyCLI will be detailed in a subsequent article on container cloud deployment.
1. Enable WebUI
First, we need to adjust the original basic configuration and add the remote management part. The complete example configuration is as follows:
port: 8317
auth-dir: "~/.cli-proxy-api"
request-retry: 3
quota-exceeded:
  switch-project: true
  switch-preview-model: true
api-keys:
- "ABC-123456"

# The remote management part added this time
remote-management:
  allow-remote: true
  # The KEY for remote management, which should be distinguished from the api-keys above
  secret-key: "MGT-123456"
  disable-control-panel: false
Please note: After modifying the configuration, you need to restart the program for it to take effect (the new version supports automatic hot reloading).
2. Access WebUI
After the program starts successfully, visit http://YOUR_SERVER_IP:8317/management.html in your browser, and enter the previously set password MGT-123456 in the management key to open the WebUI interface.
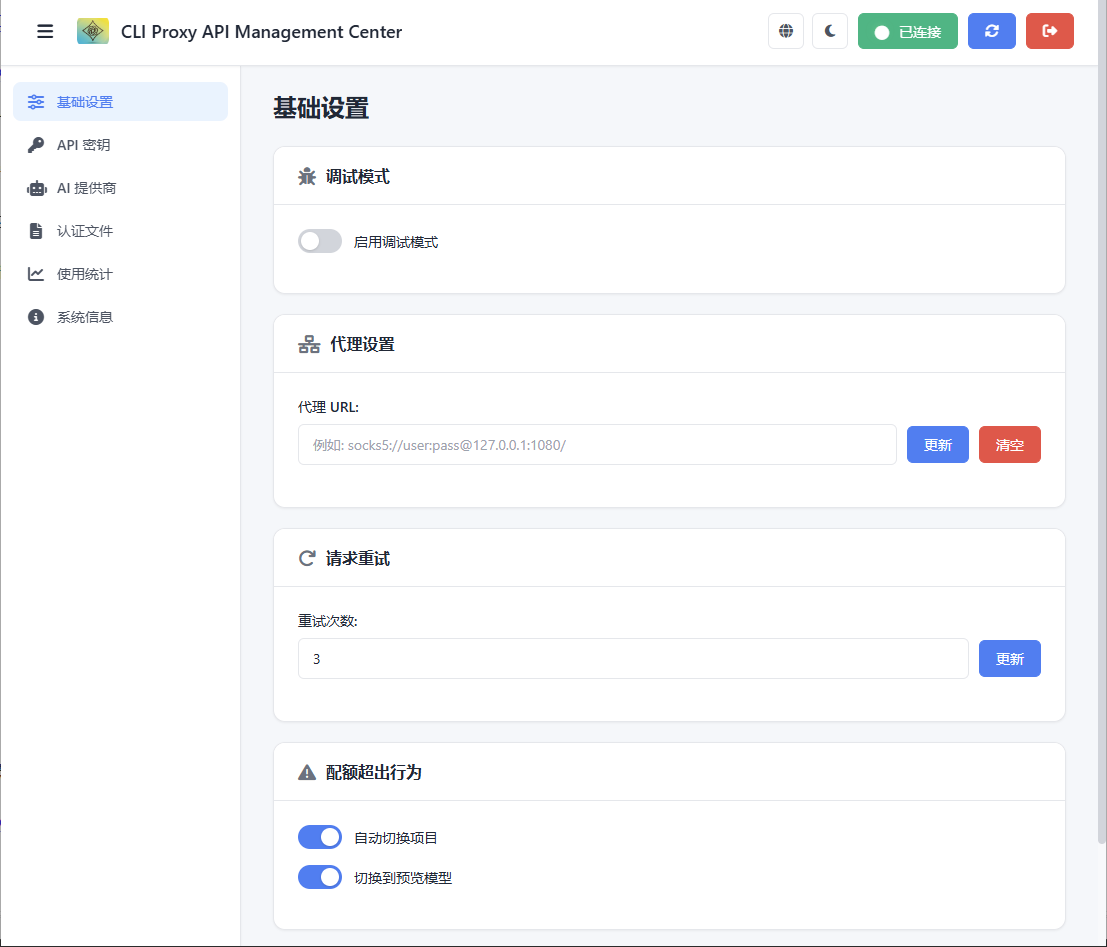
3. Important Notes
The interface design of WebUI is intuitive, and you can explore various functions on your own. However, it is important to note that the OAuth authentication function in WebUI only supports CLIProxyAPI instances running locally (for example, localhost or 127.0.0.1). For instances deployed on a remote server, due to the security policy restrictions of the OAuth service provider, authentication cannot be completed directly through WebUI.