One: Project Introduction + Qwen Hands-on
CLIProxyAPI is an open-source AI proxy tool written in Go. Perhaps because of its unpretentious name, many people may still be unfamiliar with it. Before I came across it, in order to "get for free" the Gemini model, I had tinkered with several reverse proxy tools such as AIStudioProxyAPI, AIStudio-Build-Proxy, and Gemini-FastAPI, but they all had some unsatisfactory aspects.
Until I discovered CLIProxyAPI and used it extensively for several months, I can say with certainty: whether in terms of performance, functionality, or applicability, it is the best AI proxy tool I have ever used, bar none. It's no exaggeration to call it a "divine tool".
Official repository address: https://github.com/router-for-me/CLIProxyAPI
What exactly can it do?
| Software Features | Supported Models |
|---|---|
| Provides OpenAI/Gemini/Claude/Codex compatible API endpoints for CLI models | gemini-2.5-pro |
| Added OpenAI Codex (GPT series) support (OAuth login) | gemini-2.5-flash |
| Added Claude Code support (OAuth login) | gemini-2.5-flash-lite |
| Added Qwen Code support (OAuth login) | gemini-2.5-flash-image-preview |
| Added iFlow support (OAuth login) | gpt-5 |
| Added Gemini Web support (login via Cookie) | gpt-5-codex |
| Supports streaming and non-streaming responses | claude-opus-4-1-20250805 |
| Function calling/tool support | claude-opus-4-20250514 |
| Multimodal input (text, images) | claude-sonnet-4-20250514 |
| Multi-account support and round-robin load balancing (Gemini, OpenAI, Claude, Qwen, and iFlow) | claude-sonnet-4-5-20250929 |
| Simple CLI authentication process (Gemini, OpenAI, Claude, Qwen, and iFlow) | claude-3-7-sonnet-20250219 |
| Supports Gemini AIStudio API keys | claude-3-5-haiku-20241022 |
| Supports Gemini CLI multi-account polling | qwen3-coder-plus |
| Supports Claude Code multi-account polling | qwen3-coder-flash |
| Supports Qwen Code multi-account polling | qwen3-max |
| Supports iFlow multi-account polling | qwen3-vl-plus |
| Supports OpenAI Codex multi-account polling | deepseek-v3.2 |
| Connect to upstream OpenAI-compatible providers (e.g., OpenRouter) through configuration | deepseek-v3.1 |
| Reusable Go SDK | deepseek-r1 |
| deepseek-v3 | |
| kimi-k2 | |
| glm-4.6 | |
| tstars2.0 | |
| and other models supported by iFlow |
In short, the core advantages of CLIProxyAPI include:
No need to install Gemini CLI to convert its authorization into a universal API Key, allowing you to call the full-featured Gemini 2.5 Pro, Gemini 2.5 Flash, and Gemini 2.5 Flash Lite models in any application. When the official model quota is exhausted, it automatically switches to the Preview model (e.g.,
gemini-2.5-pro-preview-05-06), allowing you to use up to 1000 calls per day, easily achieving "Gemini freedom".No need to install Qwen Code to convert its authorization into a universal API Key, allowing you to call Qwen3 Coder Plus and Qwen3 Coder Flash models anywhere, achieving "Qwen3 Coder freedom".
No need to install Codex to convert its authorization into a universal API Key, allowing you to call GPT-5 and GPT-5-Codex models anywhere. Especially with the current promotion of free Team accounts, it's easy to achieve "GPT freedom".
Convert the Gemini web version into an API Key to call web-based models like Nano Banana anywhere (client support required. According to user sharing, the free version of Gemini web accounts can be called about 100 times a day, while Gemini Pro users can reach up to 1000 times).
Powerful load balancing capability. CLIProxyAPI supports integrating multiple accounts from different sources (whether API Keys or OAuth authorizations) for load balancing and round-robin polling, which means you can easily double your call quota.
Extremely low resource consumption. It is worth mentioning that the program consumes very few system resources. The program itself is only about 10MB, memory usage at startup is less than 10MB, and the peak memory usage over a long period is only about 100MB, so it can run smoothly on almost any computer.
The program is very simple to use. The official not only provides binary files and Docker deployment methods for various platforms, but also provides EasyCLI and WebUI, which are very friendly to novices. All settings are managed through the config.yaml configuration file and support hot reloading—modifications take effect immediately without restarting the program. For a complete explanation of the configuration items, see "Zero: Detailed Configuration Explanation".
Hands-on Tutorial: Converting Qwen Code to an API Key
Below, we will use converting Qwen Code to an API Key on the Windows platform as an example to demonstrate the specific usage of CLIProxyAPI.
Download and Unzip
First, download the pre-compiled executable file from the official repository and unzip it to any folder. In this example, I placed it in the
Z:\CLIProxyAPIdirectory. We only need the two files shown in the figure.
Edit the Configuration File
Rename
config.example.yamltoconfig.yaml, then open it with a text editor, and only need to keep and modify the following basic configuration items:yamlport: 8317 # Please fill in the folder location according to your actual situation auth-dir: "Z:\\CLIProxyAPI\\auths" request-retry: 3 quota-exceeded: switch-project: true switch-preview-model: true api-keys: # Please set the Key yourself, used for client access to the proxy - "ABC-123456"Get Authorization
Open a terminal in the
CLIProxyAPIdirectory, entercli-proxy-api --qwen-loginand press Enter. The program will automatically open a browser. Please log in to your Qwen account in the browser and complete the authorization.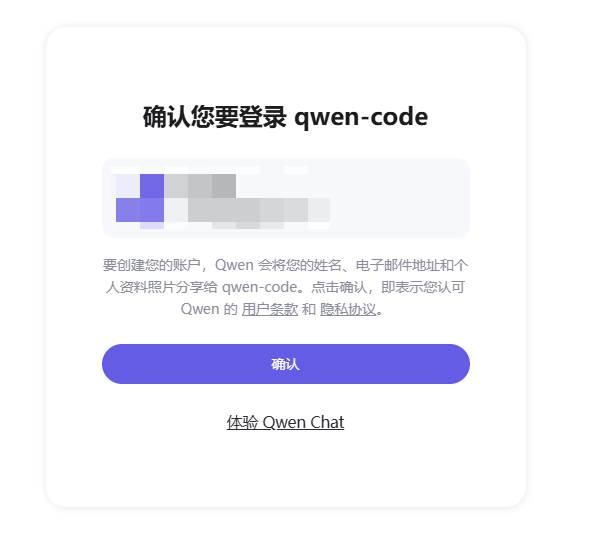
After completing the authorization, return to the terminal, and the program will try to obtain authentication information. After success, it will ask you to enter an email or nickname (as shown by the red arrow in the figure). This is just an alias used to identify the account and can be filled in arbitrarily. I filled in
qwen-examplehere. After pressing Enter, you can see that the authentication file has been successfully generated and saved to the location specified byauth-dirin the configuration file.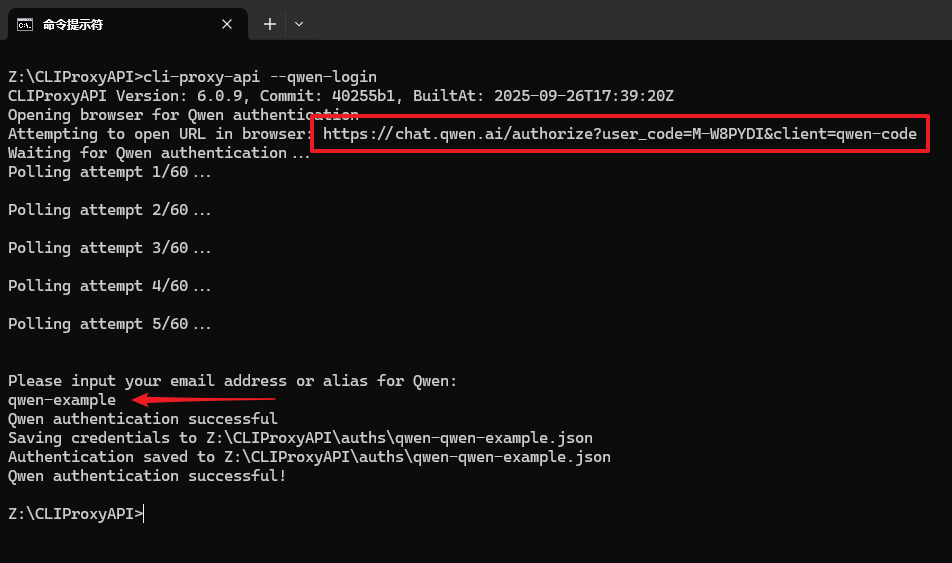
Tip: If the system does not automatically open the browser, don't worry. Manually copy the URL marked in the red box in the terminal and paste it into the browser to complete the authorization.
Start the Proxy Service
The above steps complete the account authentication. Now, let's officially start the proxy service. Double-click the executable file (
cli-proxy-api.exe), and the following window appears, indicating that the startup is successful.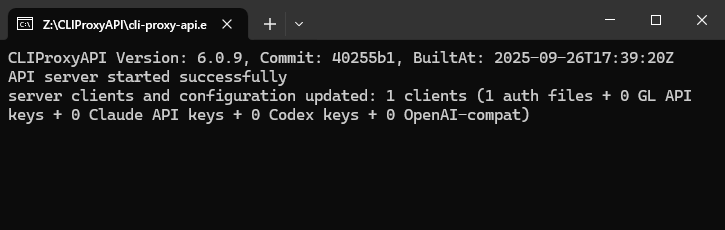
Configure and Test in the Client
At this point, everything is ready. Below we use Cherry Studio for testing.
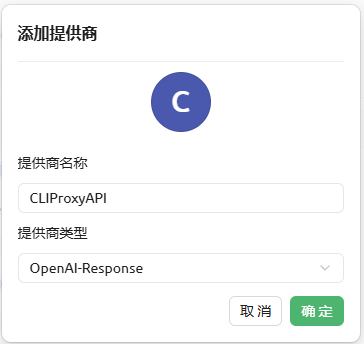
- Add a new model provider in Cherry Studio.
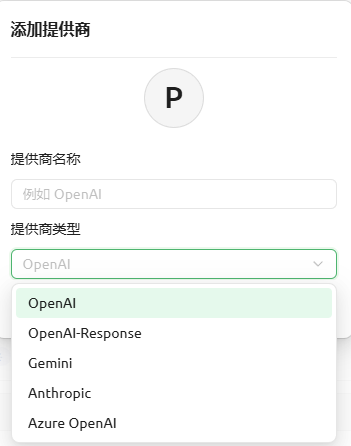
- The model provider type can be any type other than Azure. Here we take
OpenAI-Responseas an example. The provider name can be customized, for example,CLIProxyAPI.
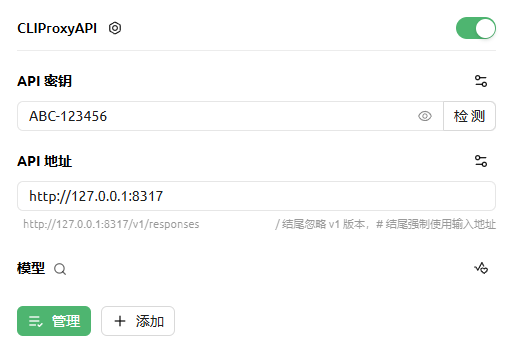
- API Key: Fill in the Key we set ourselves in
config.yaml, which isABC-123456in this example. - API Address: Fill in the address and port of our local service. Remember the port number
8317in the configuration file? Here we fill inhttp://127.0.0.1:8317.
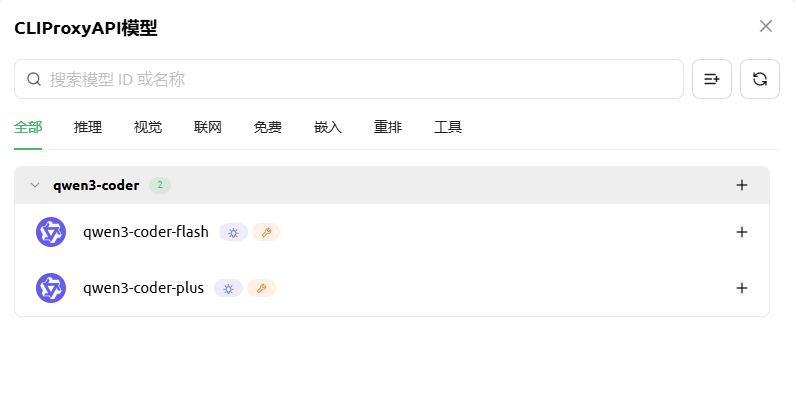
- Click "Manage Models", and you can see the Qwen Code model loaded through the proxy.
- After adding the model, let's test it.
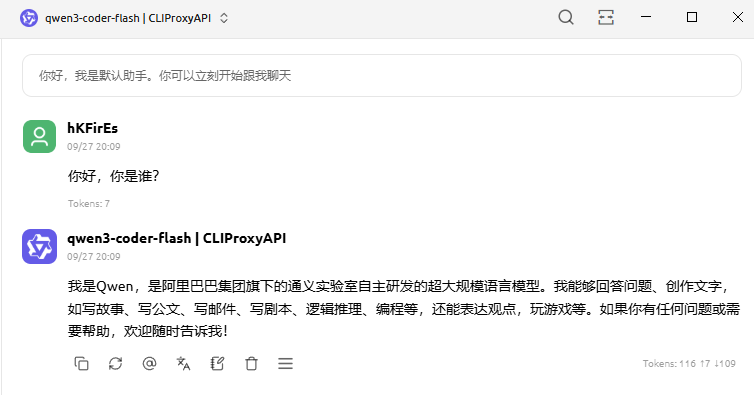
As you can see, the model has successfully returned a message. Isn't the whole configuration process very simple?