Zero-Cost Deployment: HuggingFace (Database Storage)
In the previous articles of the "No VPS?" series, we discussed how to achieve persistence of configuration and authentication information for CLIProxyAPI using local volumes (ClawCloud), GitHub (Render), and object storage buckets (Railway). This article will focus on how to achieve the same goal through a PostgreSQL database. In addition, considering that the container deployment mechanism of HuggingFace is different from conventional platforms, and some friends want to understand its deployment process, this article will explain it in detail.
This tutorial will take the PostgreSQL service provided by Railway as an example. The process of using other database providers is similar, and you can explore it yourself.
1. Prepare the PostgreSQL database
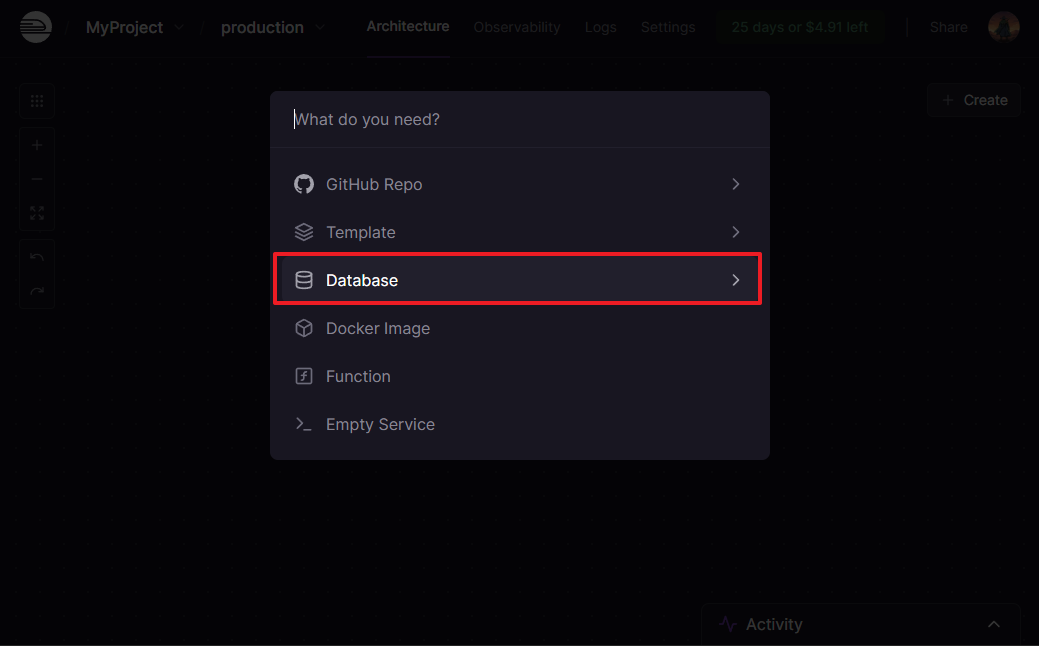
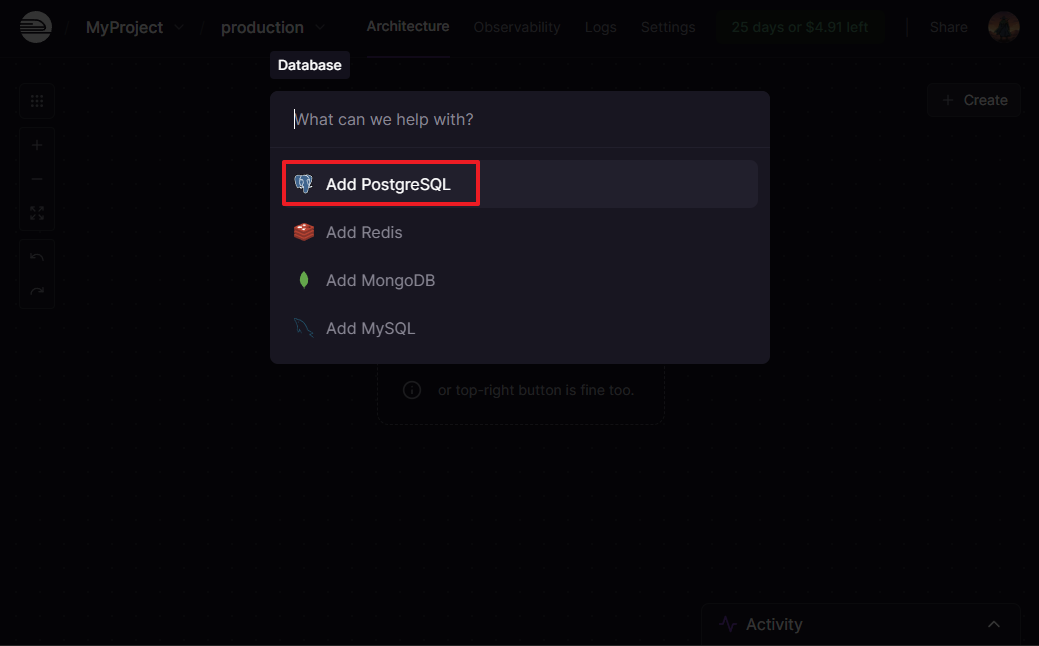
First, log in to your Railway account, create a new instance in the workspace, and select Database -> Add PostgreSQL
After the instance is created, click to enter the database management page, and click Connect under the Database tab
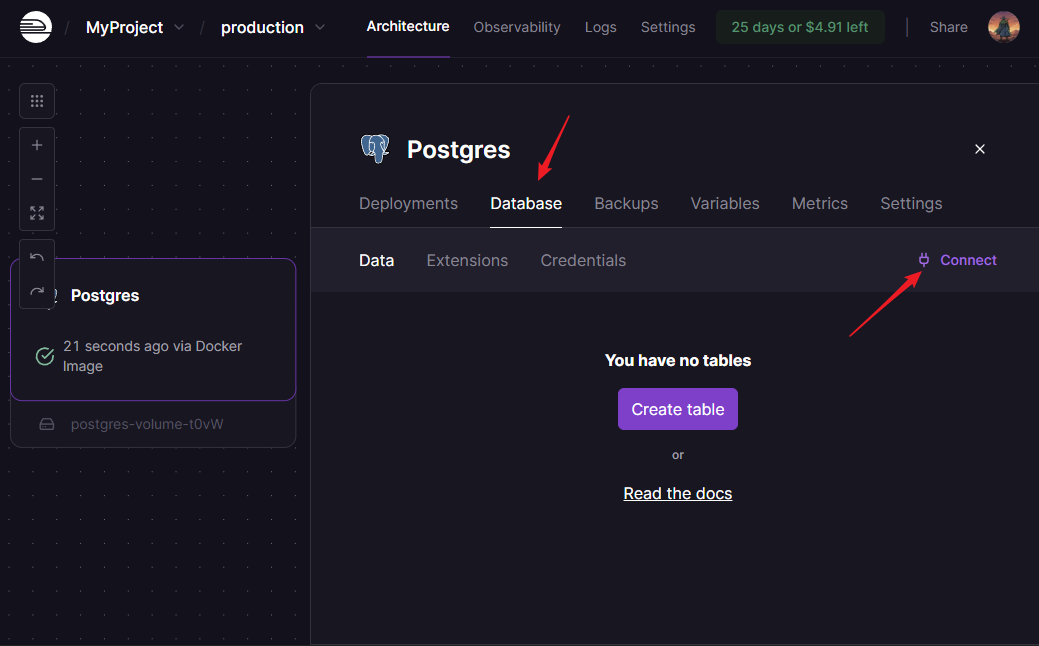
Please copy and save the Connection URL under the Public Network tab, which will be used in subsequent steps

2. Deploy on HuggingFace
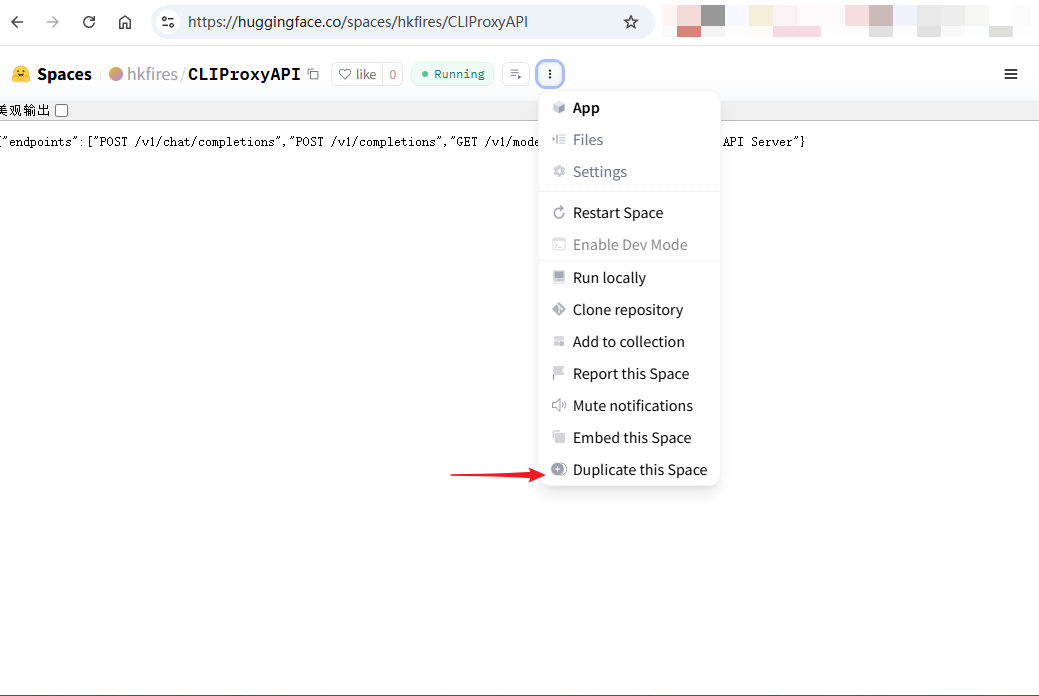
First, please visit the CLIProxyAPI project template that I have established in advance, and then as shown in the figure below, click Duplicate this Space in the drop-down menu to copy the project
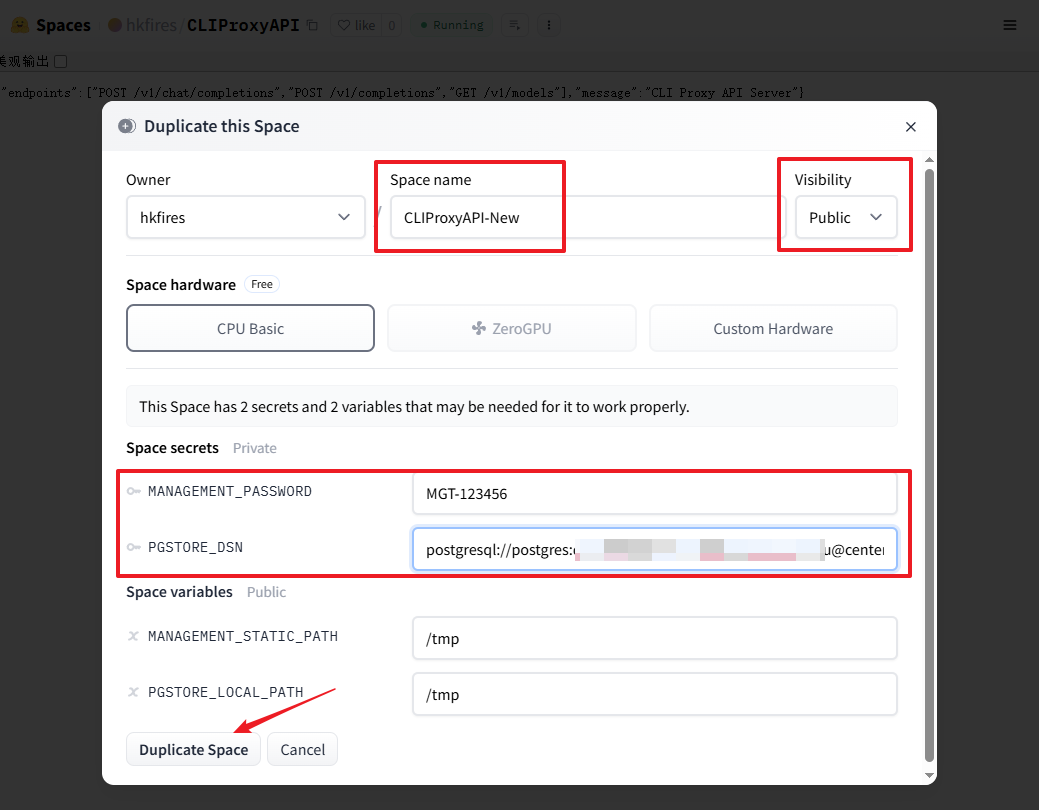
On the configuration page, please follow the instructions below:
- Modify the Space name (if this is your first project, you don't need to modify it)
- Set Visibility to Public to ensure that the service can be accessed remotely after deployment
- Fill in the management password you plan to use for WebUI in
MANAGEMENT_PASSWORD - Paste the previously copied database connection URL in
PGSTORE_DSN
After filling in all the information, click Duplicate Space
Additional note: The reason why the two environment variables
MANAGEMENT_STATIC_PATHandPGSTORE_LOCAL_PATHneed to be set to/tmpis that the security mechanism of HuggingFace sets the root directory of the container to read-only permission. Through these two variables, we can point the path of the database cache file and the management page static resources to the writable/tmpdirectory, thereby ensuring the normal operation of the program.
Wait a moment, when you see information similar to the following in the log, it means that the deployment has been successfully completed

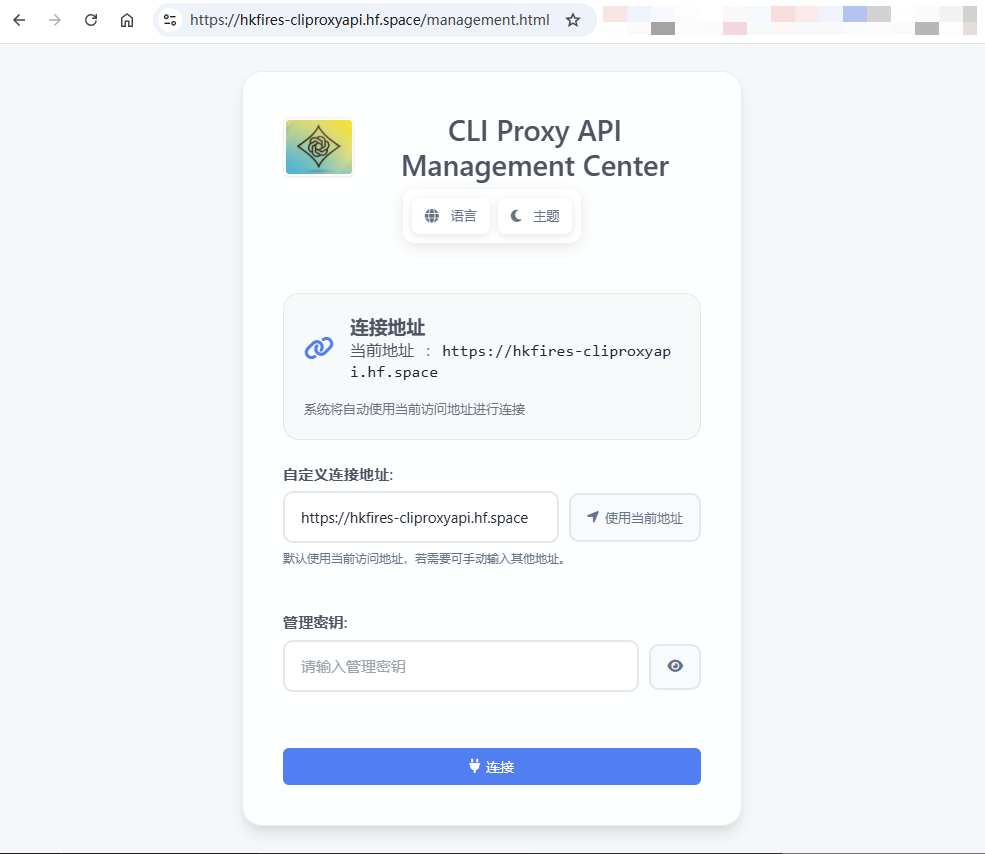
At this time, you can access the WebUI through https://<your-HuggingFace-username>-<project-name>.hf.space/management.html. For example, my access address is https://hkfires-cliproxyapi.hf.space/management.html. Enter the management password you previously set in the environment variables to log in successfully
So far, the entire deployment process is complete. For subsequent usage, you can refer to the "Use EasyCLI for remote OAuth authentication" section in the "Zero-Cost Deployment (ClawCloud)" tutorial.